Why Is Cleaning Your Vape Important?

Regular cleaning of your vape device is crucial for several reasons. Firstly, it prevents residue build-up that can impact both the device's performance and the taste of your e-liquid. Residue from e-liquids can accumulate over time, leading to clogs and diminished vapour production. A clean vape also ensures you receive the best flavour experience, without any lingering tastes from previous e-liquids.
Cleaning also contributes to the longevity of your device. By maintaining each part, you're less likely to experience malfunctions or require replacements, saving you money in the long run. Additionally, regular cleaning prevents the potential for harmful bacteria to accumulate, ensuring a healthier vaping experience overall.
Essential Vape Cleaning Supplies
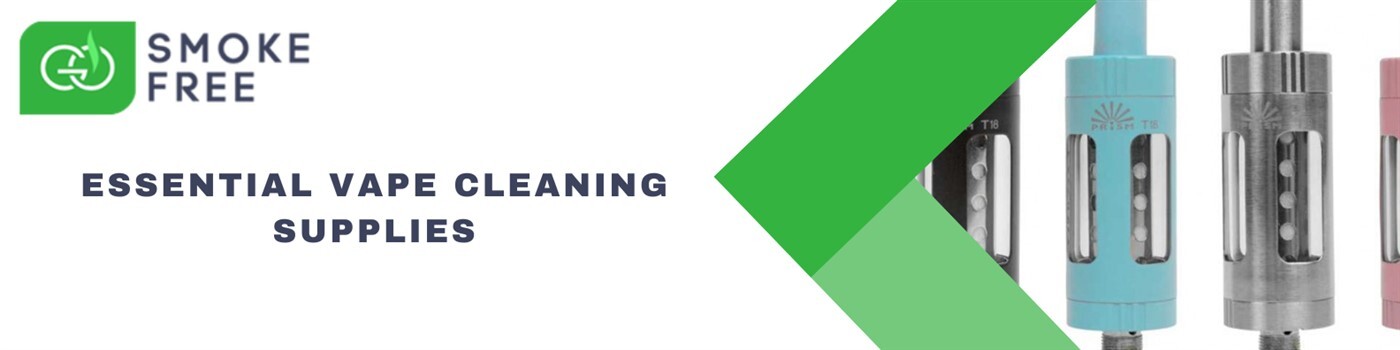
Before diving into the cleaning process, gather the necessary supplies to make the task efficient and effective. We recommend using:
● A bowl of warm water
● Isopropyl alcohol (preferably 90% or higher)
● Cotton buds or cotton pads
● Microfibre cloths
● A small brush or old toothbrush
● Paper towels
● Tweezers (optional)
Having these items on hand will make the cleaning process straightforward and ensure each component of your vape receives the attention it needs.
How to Safely Take Apart Your Vape
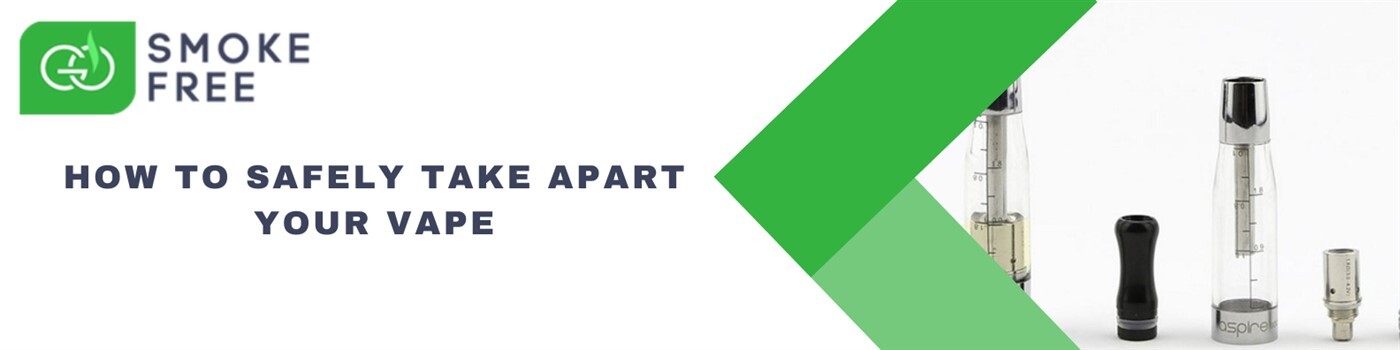
Begin by dismantling your vape into its core components. Each device varies slightly, but generally, you will need to disassemble the tank, coil, mouthpiece, and battery compartment. Follow these steps to safely take apart your device.
1. Turn Off the Device: Before starting, ensure your vape is turned off to prevent accidental firing or damage.
2. Remove the Tank: Unscrew the tank from the battery or mod. Be gentle, as excessive force can damage the threading.
3. Detach the Coil: Within the tank, the coil may either screw in or press-fit. Carefully remove it, noting how it fits for easy reassembly.
4. Separate the Mouthpiece: Depending on your device, the mouthpiece might detach from the top of the tank or be part of it. Gently separate it to clean thoroughly.
5. Disconnect the Battery: If you're using a mod with removable batteries, take them out. This ensures safety and makes cleaning the battery compartment easier.
Disassembling your vape correctly will allow you to clean each part thoroughly, improving the device's overall functionality.
How to Clean Each Part of Your Vape

With your vape disassembled safely, it's time to clean each component individually.
How to Safely Reassemble Your Vape

Once each part of your vape is thoroughly cleaned and dried, it's time to put it back together. Follow these steps:
1. Reattach the Coil: Ensure the coil is dry and then fit it back into the tank as it was before disassembly.
2. Reassemble the Tank: Piece together the remaining parts of the tank, ensuring each component is securely fastened without over-tightening.
3. Insert the Battery: If applicable, place the batteries back into their compartment with the correct orientation.
4. Secure the Tank to the Device: Carefully screw the tank onto your vape device, ensuring it is firmly attached but not overly tight.
5. Test Your Device: Once reassembled, turn on your vape to ensure it works correctly.
Benefits of Regular Vape Maintenance

Regular maintenance and cleaning of your vape provide multiple benefits. It preserves the lifespan of your device, enhances the flavour of your e-liquid, and ensures optimal vapour production. Additionally, it prevents the build-up of bacteria, contributing to a healthier vaping experience overall.
By following this guide, you'll ensure that each part of your vape remains in optimal condition, delivering the best performance possible. Whether you're a new or long-term vaper, regular cleaning and maintenance will keep your device running smoothly and safely. At Go Smoke Free, we're here to support your vaping journey with expert advice and high-quality products. From spare coils to vape batteries, vape coils, vape tanks, chargers and more. With incredible deals on bulk buys, you can look after your vape for less at Go Smoke Free.
